
How to use it in Figma, even if you have never used Figma
Four steps. You do not need to draw anything, and a free Figma account is enough.
Fill
Export
- Press Copy to FigmaClick the button on this page. The design is copied, like text you copy with Ctrl + C.
- Paste it in FigmaOpen Figma, open any file and press Ctrl + V (Cmd + V on Mac). You get real, editable layers.
- Make it yoursDouble-click a text to type your own words. Click a shape and change its color under Fill. Drag your own photo onto an image box.
- Export itClick the design. In the right panel, scroll to Export, choose PNG, JPG, SVG or PDF, then click Export.
Tip: install the free Google Fonts used in the design (the name shows when you click a text) so the text looks the same on your computer.
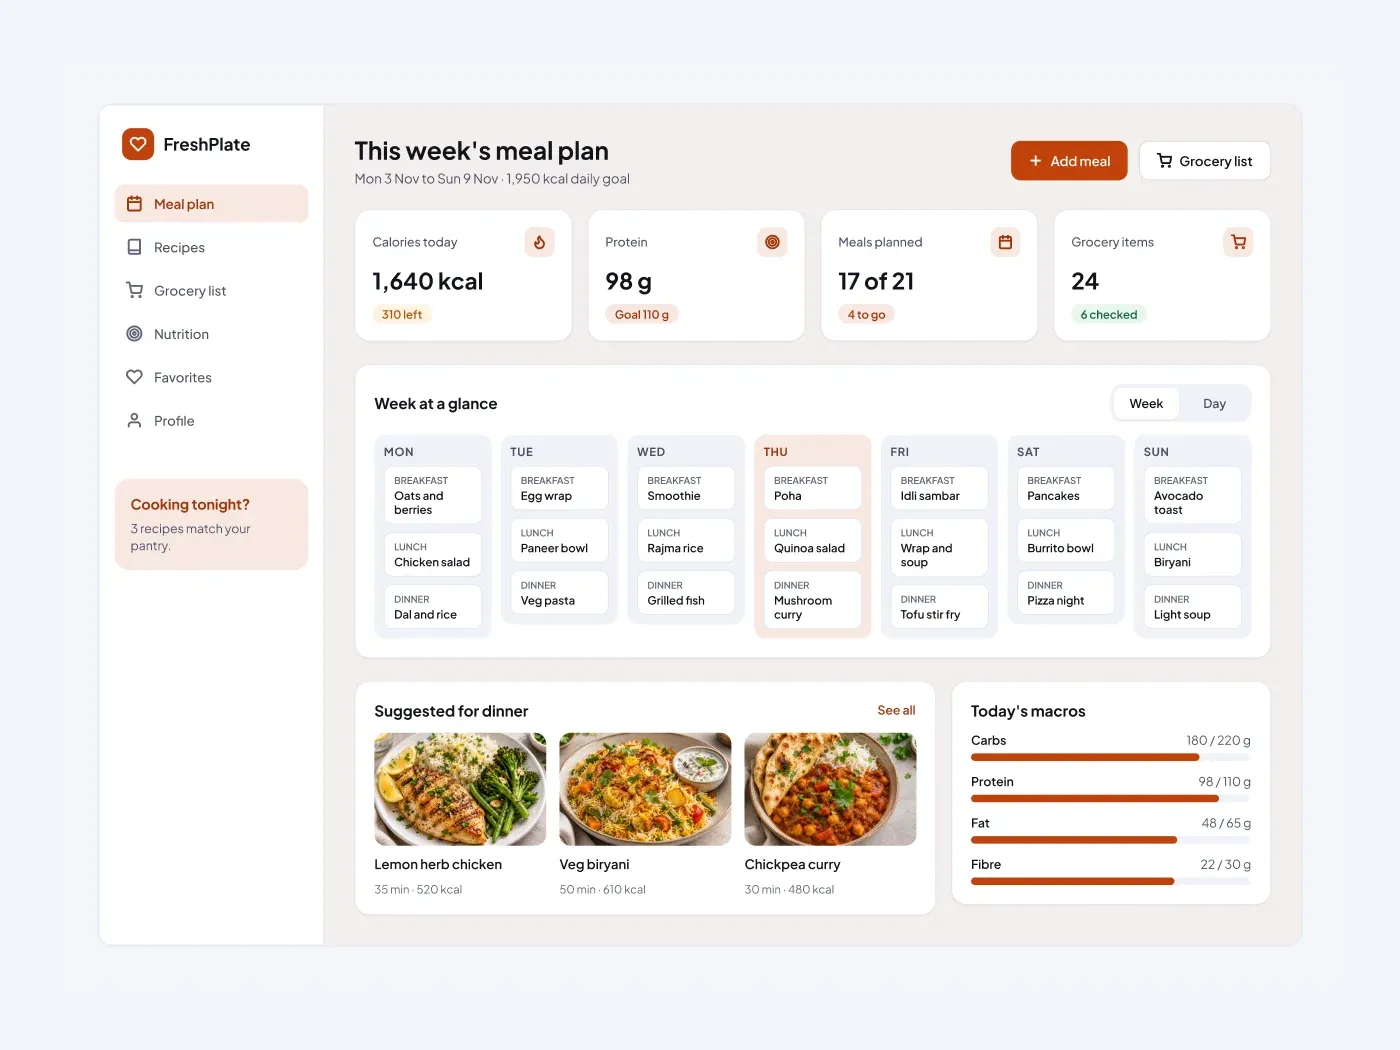
The dark version uses deep panels with soft borders, so the content stands out on a dark page. Plan the week on one screen. This meal planner has a seven day grid, a calorie and protein summary, and recipe suggestions with a photo slot for each dish.
What is included
- A week grid with three meals per day and today highlighted
- Four summary cards for calories, protein, meals and groceries
- Macro bars for carbs, protein, fat and fiber
- Three recipe cards with image frames
- A list of pantry matches in the sidebar
Where to use it
Use it for a nutrition app, a recipe site or a diet coaching tool. Change the meal names and the goal numbers to fit your product.
How to use it
Copy the component with the copy button and paste it into Figma with Ctrl+V or Cmd+V. The layers keep their auto layout, so you can edit text, colors and spacing. The text uses Plus Jakarta Sans, a free font on Google Fonts. Install it first so the text looks the same.
Dark version
This listing is the dark version. The light version is listed separately, so you can pick the one that fits your project.