Free Resume Template for Designers – Modern Figma CV Design
· 3 min read · by the ProFigma team
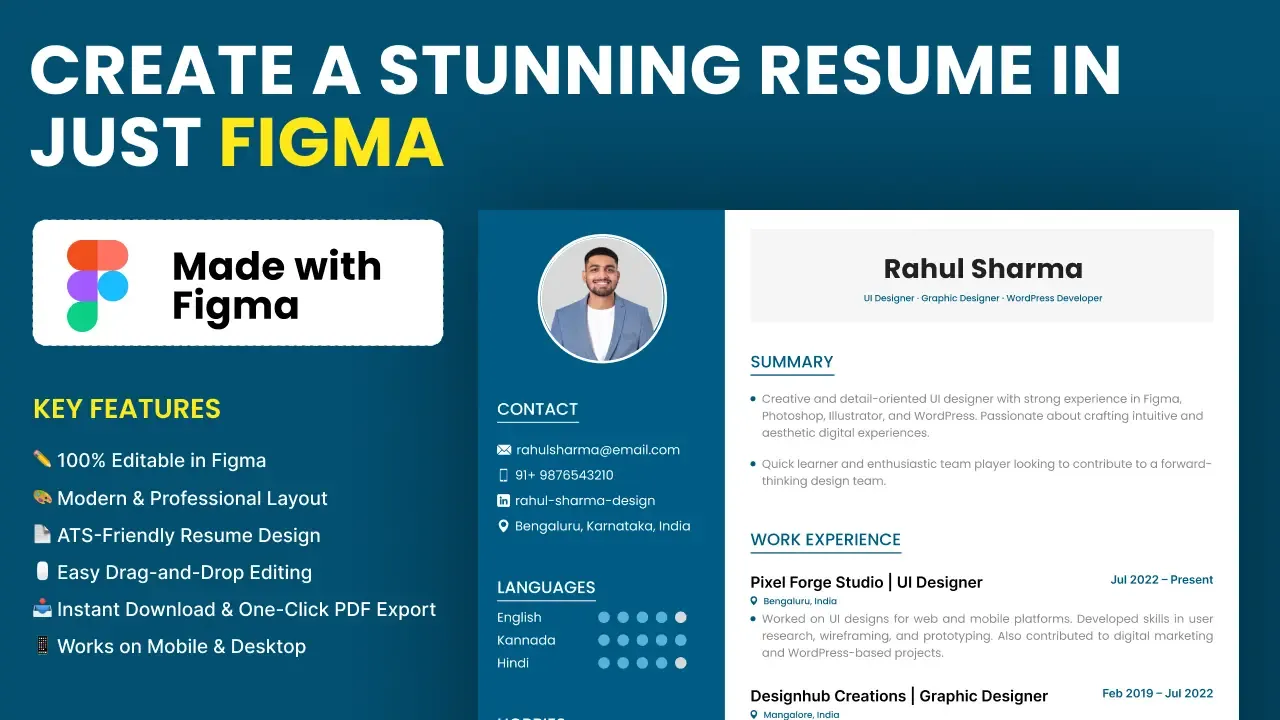
Knowing how to make a resume in Figma gives designers and developers full control over layout, type and color, and the file exports to a clean PDF. This guide covers opening a template, editing each section, choosing fonts and colors and exporting your CV. A free Figma resume template is linked below if you want a ready starting point.
Key takeaways
- Figma gives precise layout control, reusable files and version history, which suits a resume you update often.
- Edit text layers, keep the layout simple and let auto layout handle spacing.
- Export a PDF and check that text is selectable and fonts look right.
- Keep one master resume and make role-specific copies.
- Designers and developers should emphasize different things.
Why use Figma for a resume
You can write a resume in any tool, so why Figma? There are three practical reasons.
First, control: you decide exact margins, column widths and type sizes. Second, reuse: a Figma file is easy to duplicate, so one master version can spawn tailored copies for each application. Third, history: version history lets you go back to an earlier edit if a change does not work.
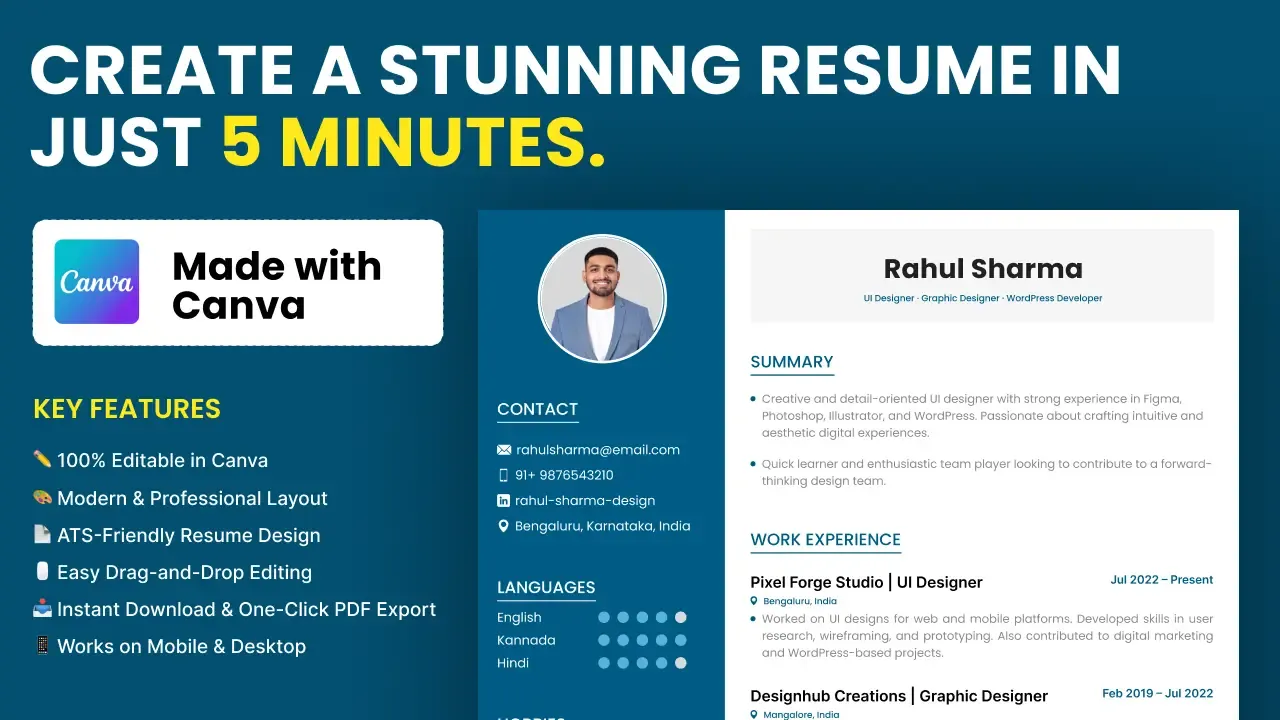
The trade-off is that Figma is a design tool, not a word processor. If you are not already comfortable with it, a simpler template is better than a complicated one, and the Canva resume guide may suit you more.
Step by step: from template to finished CV
- Open and duplicate. Create a free Figma account if you do not have one, open the free Figma resume template and duplicate it into your own drafts so you can edit freely.
- Replace the content. Double-click each text layer and enter your details. Start with name, role title and contact information, then work down the page.
- Edit sections. Add or remove experience entries, projects and skills. If the template uses auto layout, the page will adjust spacing as you add or delete lines.
- Adjust colors and fonts. Change the accent color and, if needed, swap fonts. Keep to two typefaces at most.
- Proofread. Read the entire page, then read it aloud. Check dates, spellings and links.
- Export. Follow the export steps below and check the result.
A layout structure that survives edits
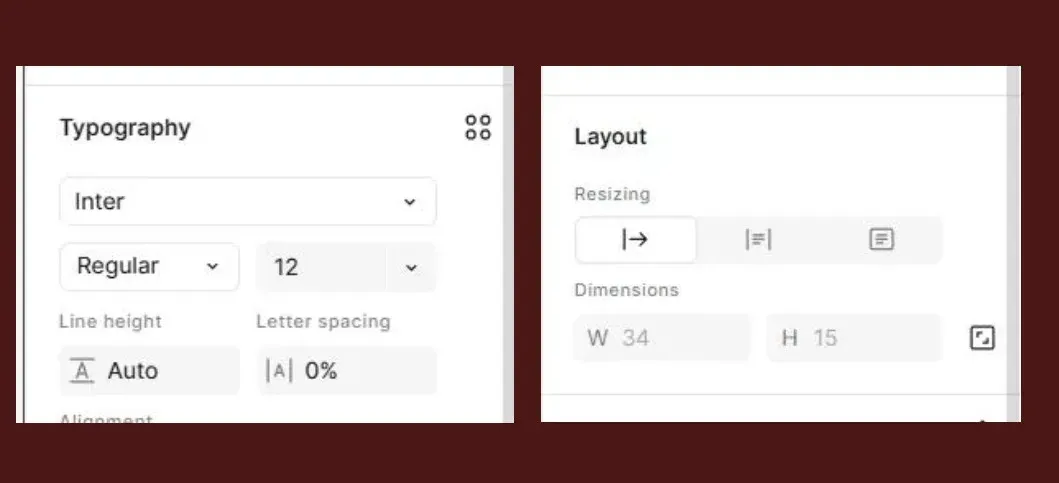
The biggest advantage of Figma is auto layout, so use it on purpose. Put the whole resume in one frame at a standard page size (A4 is 595 x 842 px at 72 dpi, and US Letter is 612 x 792 px). Inside it, give each section its own auto layout frame with a heading and a vertical list of entries.
Each job entry can be a small auto layout of its own: title and company on one line, dates aligned right, then bullets below. When you add a bullet, the section grows and pushes the next section down instead of overlapping it.
Keep the margins equal on all sides, typically 36 to 48 px on that page size, and leave a little space between sections so the page can be scanned. Check the bottom edge after every edit to make sure nothing runs off the page.
Font and color choices for readability
A resume is read quickly and sometimes printed in black and white, so favor clarity over decoration.
- Fonts: use one clean sans-serif or a serif and sans-serif pair. Body text around 10 to 11 pt is comfortable on a printed page.
- Colors: a dark text color, a white or off-white background and one accent color for headings or lines.
- Contrast: check that your text and accent colors meet at least a 4.5:1 ratio for small text. The color contrast checker for readable resume colors gives you the ratio instantly.
- Hierarchy: name largest, section headings second, job titles bold, dates and descriptions lighter.
If you add a photo, use it only where the local hiring norm expects one. In many places it is not required.
Export settings for a sharp PDF with selectable text
A good export keeps the text real, so recruiters can search and copy it.
- Select the resume frame on the canvas.
- In the right panel, find Export, click the plus icon and choose PDF.
- Click Export and save the file.
- Open the PDF, try to select a paragraph and check the fonts and spacing on screen.
If something is missing or odd, fix it in Figma and export again. Figma's help center explains export options in more detail. Keep the file size modest so it attaches easily to emails and job portals.
How to keep one master resume and make role-specific copies
Most people send the same resume to every job and wonder why they hear nothing back. Tailoring does not mean rewriting everything.
- Keep a master file with every job, project and skill you might want to show.
- For each application, duplicate the file and name it clearly, such as Resume / Company / Role.
- Reorder the sections and keep only the bullets that match the job description.
- Adjust the summary to speak directly to that role.
Using Figma pages or sections for each copy keeps everything in one place.
Resume for developers vs designers: what to emphasize
Designers
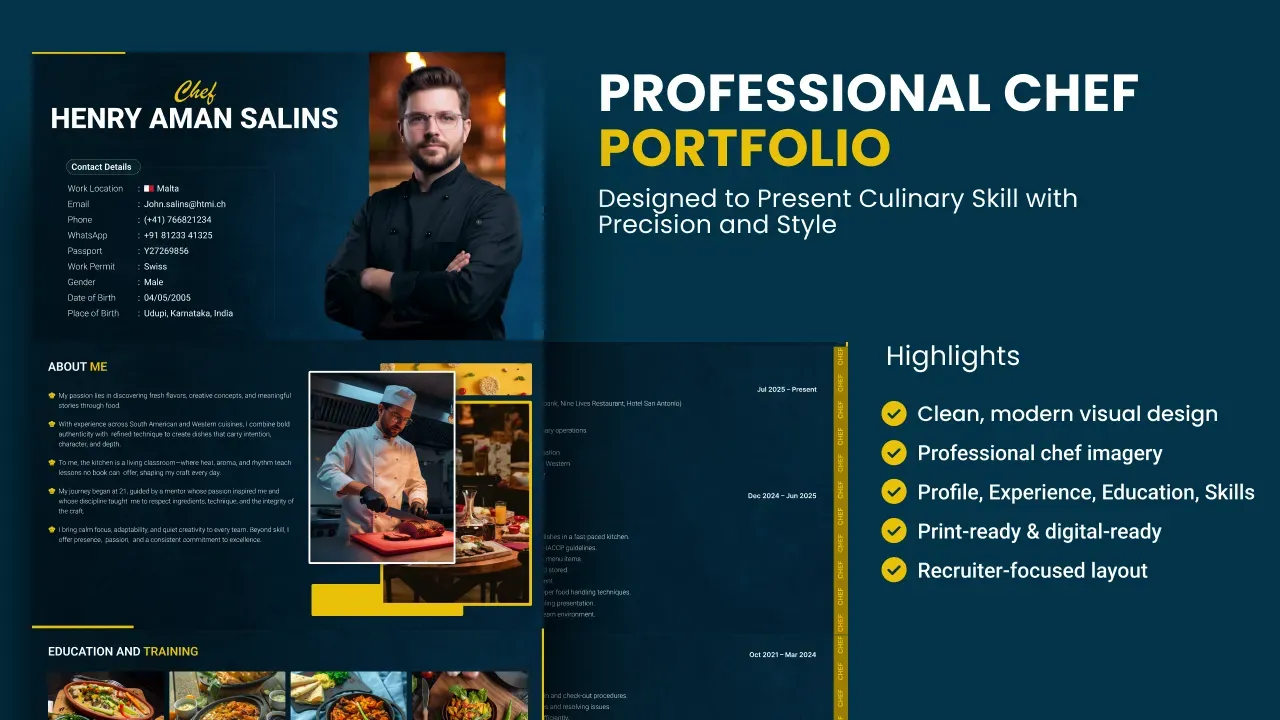
Lead with a short profile, tools (Figma and others) and a link to a portfolio. Describe projects by problem, your role and result. A little more visual personality is fine, but keep the structure clear.
Developers
Lead with technologies, projects and links to code. List languages and frameworks you actually use, and describe what each project does and what you built. A restrained layout usually reads better than a heavily styled one.
Non-design roles generally do best with a clean, restrained template rather than an elaborate creative layout.
Is a Figma resume ATS friendly?
Applicant tracking systems vary, and it is not possible to promise how any one system will read a file. A simple layout with standard headings, real text and a PDF export gives you the best chance. Avoid hiding key information inside images, and check that the PDF can be copied in a sensible order.
Common mistakes to avoid
- Too many colors or font styles.
- Long paragraphs instead of short bullets.
- Text converted to outlines or images, which cannot be selected.
- Tiny text to squeeze everything onto one page.
- Skipping a final proofread.
If you need a longer layout, the professional two-page Figma resume template has a sidebar, skill bars and auto layout sections that you can add, remove or reorder.
Conclusion
A Figma resume works best when it is simple: a clear hierarchy, two fonts, one accent color and real text that exports cleanly to PDF. Keep a master file, make tailored copies and proofread each one before you send it.
To get started now, open the free Figma resume template, replace the placeholder content and export your first PDF.
FAQ
How do I make a resume in Figma?
Open a resume template in Figma, replace the placeholder text with your details, adjust colors and fonts, then export the frame as PDF. Duplicate the file for each role so you keep a master copy.
Can I export a Figma resume as a PDF?
Yes. Select the resume frame, add a PDF export in the right panel and export. Open the file afterwards to confirm the text is selectable and fonts look correct.
Is a Figma resume ATS friendly?
It can be if the layout is simple, headings are standard and text stays as real text in the PDF. Avoid putting key information in images and check how the PDF behaves when copied.
Do I need Figma skills to use a template?
Basic skills are enough. You edit text layers, swap the photo if there is one and adjust colors. Auto layout in the template helps sections grow without manual spacing.
Should a non-design job use a Figma resume?
You can, as long as the layout stays simple and readable. For non-design roles a clean, restrained template usually works better than an elaborate creative layout.